6.810 Engineering Interactive Technologies (fall 2021)
Lab 15: Video Taking + Editing
Today, you are going to capture video material of your multi-touch pad and then cut it into a short video that you can use for your website or project portfolio. Below on the left is an example from last year and below on the right is an example showing the old multi-touch pad we did in previous years (FTIR technology).
Steps:
- Draw a Video Storyboard
- Shoot Video Material
- Install Adobe Premiere & Download Template Project
- Cut Video
- Add Text and Drawings
- Move and Scale Elements
- Video Transitions: Fading In/Out
- Add Music
- Examples of Group Project Videos
Deliverables
At the end of the lab, upload to your student google drive:
- the video story board (.pdf, .jpg, or .png)
- the video (.mov, max. 30MB), which should include:
- a title screen that states what the video is (e.g., 'Multi-touch Pad') and who made it (i.e. your name)
- at least 3 shots of video cut together (shots are your choice, you can also include shots that show you build electronics on the breadboard, a scene in which you inkjet print, it doesn't have to be just the final touchpad)
- the video should be at least 20 seconds long
- music is optional but recommended
Help us Improve Class Materials for Lab15:
Please let us know if you had any trouble with the video editing software or if anything was confusing in the write up.
You can add your comments here.
(1) Draw a Video Storyboard
Before you start taking video, it is a good idea to plan by making a video storyboard.
Take a piece of paper and sketch out the scenes you are planning to shoot.
What do you want to show in which scene? It is up to you what you want to show in your video. It could only be the final multi-touch pad with the signal plotter, blob detection, or pressure visualization showing in the background. Or you could also show what components the multi-touch pad is made of showing the printed electrode matrix and the breadboard with close-ups. You could also show how you made your multi-touch pad by including a shot showing the inkjet printer printing it out, or showing how you add parts to the breadboard. No need to show all of these but you should spend a moment to think about what you want to highlight in your video.
What would you label in the video sequence? It is also important to think about what you would like to label in each video scene. For instance, do you want to add some text on screen that points at the printed multi-touch pad and says 'multi-touch pad made from inkjet printed electrodes'? If yes, you need to think about where this text will be on screen and when you shoot your video you need to make sure there is space so you can place the text there later.
Which text will be on a black bar at the bottom? Perhaps you also plan to use a black text bar at the bottom of the video screen like we did in the video on the top right. If you plan to do this, make sure that when you capture video you leave some space at the bottom so your multi-touch pad will not be covered by the bar.
How much working Multi-Touch Pad do I have to show? This lab is about making a good video. If your multi-touch pad doesn't work super great, you can also think about focusing on the fabrication process of making the multi-touch pad in your video. If your own touch pad does not work anymore, you can also ask a friend and borrow theirs.
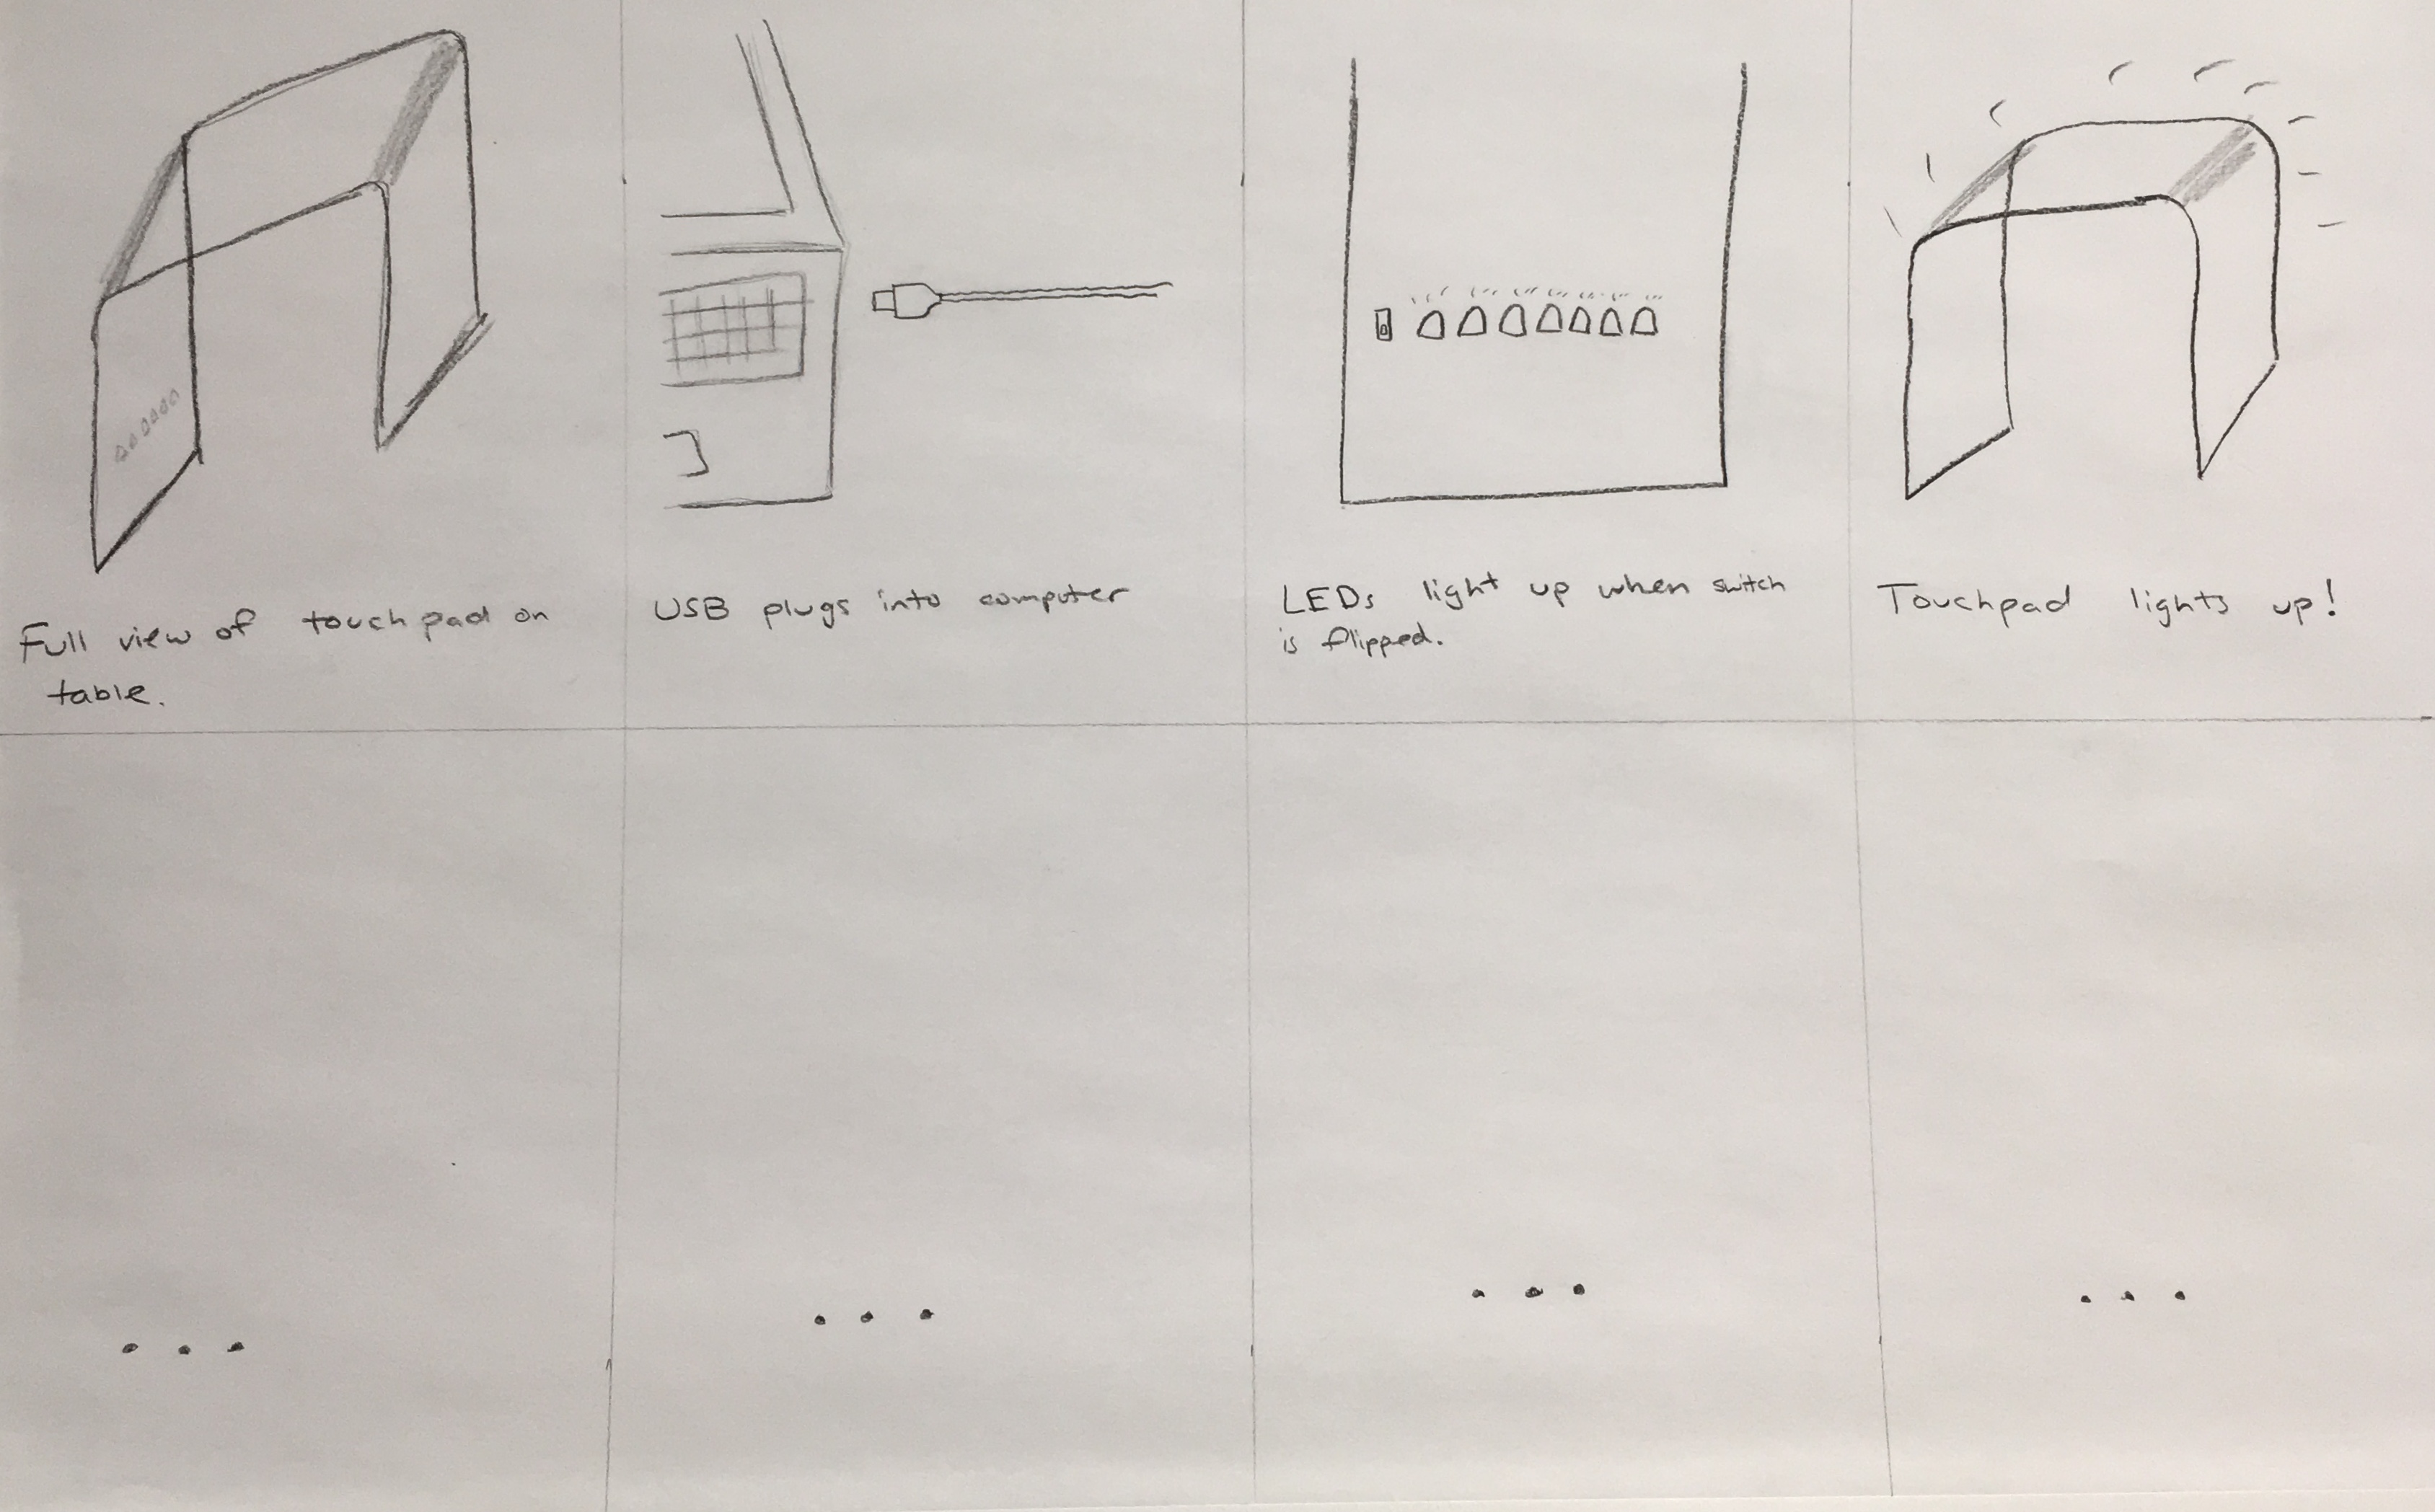
Here is an early storyboard example that we started drawing before we created our touchpad video:
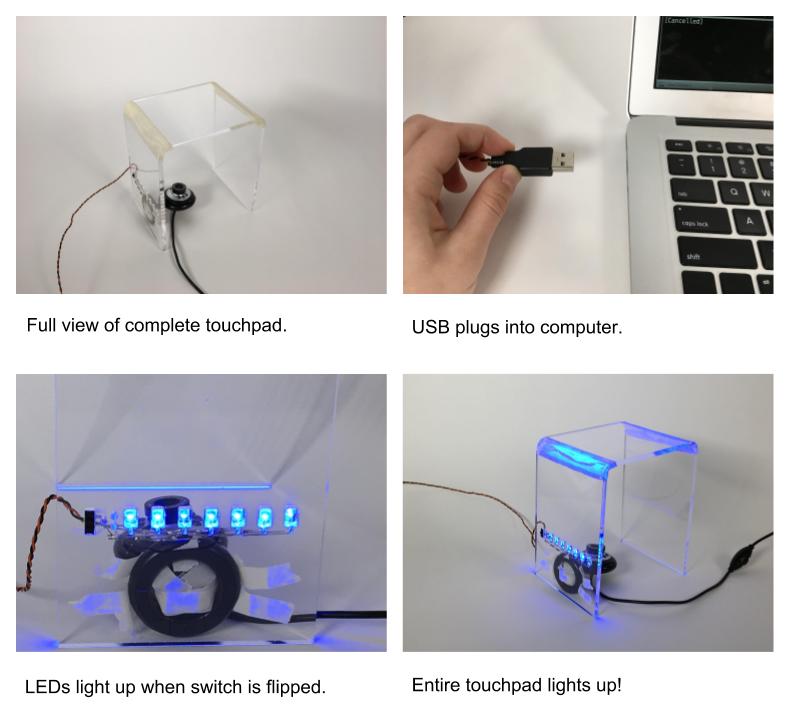
Hand-Drawn vs. Photo Storyboard: Storyboards do not necessarily have to be hand-drawn but it's typically the fastest. Alternatively, you can also create storyboards using photos and screenshots. For instance, you could quickly take photos of the different multi-touch pad scenes and also insert some screenshots from your Processing output in the storyboard. Below is an example of how this can look like using the FTIR touch pad:
(2) Shoot Video Material
With your storyboard ready, you are now ready to shoot the video scenes.
Clean Background: Same as with the photos, use a clean backdrop and make sure there is nothing in the image that shouldn't be there.
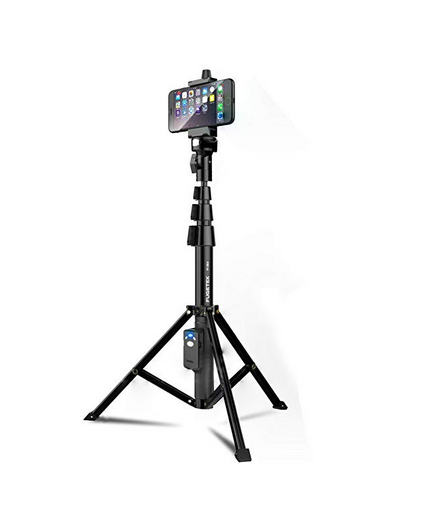
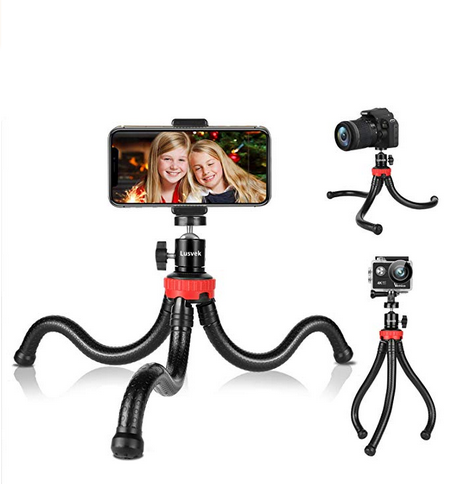
Always use a tripod: Always use a tripod, otherwise your video will be shaky. When you position the tripod, make sure the tripod is leveled and not standing at an angle. We bought several tripods for class that should fit most standard cell phones. They are were the backdrops are on the wall.
Shoot every scene multiple times: You should always capture every scene multiple times just in case something went wrong and you didn't notice. When you make the additional shoots, ideally slightly vary the action, e.g. come into the frame with the finger a little steeper or flatter so you have some choice of what you want to use in the end.
Never Zoom: You can zoom to find a good image frame before you start recording. After you hit the record button you should never zoom. Video material that uses zooming will make you look unprofessional. The reason for this is that the act of zooming has no equivalent in the human eye (our eyes cannot zoom in and out) and thus the material will always look unnatural.
Keep the placement of sub-titles and labels in mind: As mentioned previously, keep in mind you may place subtitles in the lower half of the video later on. If you planned to put labels somewhere, did you leave enough space in the frame? Planning is key here to avoid major frustration later on.
(3) Install Adobe Premiere & Download Template Project
Install Adobe Premiere: We recommend to use Adobe Premiere for your video editing. All MIT students have access to free Adobe Creative Cloud licenses here. All our instructions will be based on Adobe Premiere. If you use a different video editing program that's fine but we may be less knowledgable on how to use it and may not be able to help you as much.
Download Template Project: We prepared you with a template Adobe Premiere file that will make it easier for you to get started. You can download it here.
Video Tutorials: For the next steps, we made video tutorials that guide you through some tools in Photoshop that are helpful in making a photo look better. The video quality might be better if you click on the YouTube icon in the lower left corner, which opens a new tab and you can set the quality to 1080p.
(4) Cut Video
Adding your Video Material: In the first step, drag some of your video material (or a photo) onto the video timeline here. The video timeline has multiple 'tracks' (layers). If you don't see your video, there is probably something else on top that covers it up.
Cutting Video Material: You can either just drag the end of a clip to make it shorter. Or you can use the razor tool to cut a clip into two halfs (select the razor tool, then click onto the video clip in the location where you want to split it).
(5) Add Text and Drawings
Adding Text: You can drag almost any file type onto the timeline (e.g. .jpg files, .ai files from Illustrator). We use this feature to design our own captions in Illustrator. To edit an Illustrator file on the timeline, click onto it with the right mouse button and then select 'Edit Original' from the menu, which opens the file in Illustrator. Make the changes in Illustrator, then save the file, and it will automatically refresh in Adobe Premiere.
Adding Drawings: In the same way, you can add any type of drawing onto your video. For instance, we added a drawing in the form of a dotted white outline in Illustrator that highlights the electrodes of the touch pad and then overlaid it with the video file.
(6) Move and Scale Elements
Moving and Scaling Text: If you are not happy with the placement of the text, you can also move it around in Premiere or scale it by going to Effects Controls and then change the values under position and scale.
Moving and Scaling Photo/Video: You can do the same thing with any element in the video timeline, such as the photo of the touchpad. We first double clicked the opening photo, then used scale to make the photo larger to fill the entire screen.
(7) Video Transitions: Fading In/Out
Dip to Black, Cross-Dissolve and other Transitions: Transitions are really useful when you have a semantic break in your video, e.g. you show the blob detection and have multiple scenes about it, and then afterwards you show the gesture detection with multiple scenes. In-between these two steps it would be good to add a dip to black or other transition to show to the viewer that a new chapter in the video starts. To do this, click on Effects and then Video Transitions, then drag e.g. the Dip to Black between two video-snippets on the timeline.
(8) Add Music
Videos are often more fun with music.
Finding Free Music: Websites, such as Jamendo.com, provide many free sound files as long as you distribute your own work under creative commons license. There are many other free music platforms out there, just make sure you understand the conditions under which you can use the music for free.
Examples of Group Project Videos
While not needed for today, you will also have to make a video of your group project. Below are some examples from the last years.
- a title screen that states what the video is (e.g., 'Multi-touch Pad') and who made it (i.e. your name)
- at least 3 shots of video cut together (shots are your choice, you can also include shots that show you build electronics on the breadboard, a scene in which you inkjet print, it doesn't have to be just the final touchpad)
- the video should be at least 20 seconds long
- music is optional but recommended
Please let us know if you had any trouble with the video editing software or if anything was confusing in the write up.
You can add your comments here.
| This is a fantastic video, very professionally made, shows all the functionality of the project and even how it was fabricated and assembled. No stock photo material was used, all the scenes were captured by the student team, which is great. The team is not using voice narration and text overlays instead but it works well because they kept the text short and spaced it out so there is enough time to read. | |
This is also a very good video showing how the project was built in the later part, but we wished the team had used less stock photo/video material for the introduction. In general, please avoid stock photo/video material and capture all scenes yourself. The voice over enables the team to provide more explanation about what the project was about than a text overlay typically does. |
|
| This is also a fun video to watch. The video shows the functionality of the project and also a bit how it was made. The video feels a bit less professionally captured and a bit more adhoc than the other ones, so that's something that could have been improved. In general, video material should always fill the entire screen, and cutting several scenes together is better than playing one scene for too long. | |
| This is a video that is very professionally made, but it would have been good to learn more about the implementation, i.e. how everything works under the hood. It feels very marketing and not enough engineering. |